How to add a Heatmap in Blogger to Track User Click Activity
Friday, February 26, 2016
What is Heatmap?
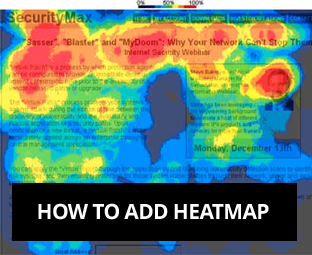
A heatmap provides you a visualized report on how your visitors use your website. Heatmap provides reports about your top pages by highlights those areas with high user activity.Heatmap provides information about where a user clicked movement of the mouse, and much more. This allows you to solve usability issues, increase conversions, increase sales and improves the user experience of your website.
This tool is different from traditional analytics tools like Google Analytics, Statecounter. Which provides you information about how many unique visitors you have, where they came to your site, and how much time they spend on your site.
Heatmaps tools and plugins are different they tell you how users are interacting with your site components.
How to add a Heatmap in Blogger?
There are a lot of heatmap tools that offers amazing services but we will be using MouseFlow.com to add a heatmap in your Blogger site because they provide quality tracking features and the best thing its FREE.The very first thing you need to do is to go to sign up page and register a free account. Enter your domain name on which you would like to add the heatmap, email address and password. Once everything is done, press "Create my account" button.

Once you have signed up successfully, you'll get a tracking code which you need to add on your site. This code will allow your site to be monitored for user activity. Copy the code, and move to the next step.

Go to Blogger >> Template >> Edit HTML >> Search for <body> and just below it paste the tracking code you copied earlier. Once you have paste the code, save the template.

After adding the tracking code in your template, go to eu.mouseflow.com/websites/ and start monitoring the visual activity of your website. The best thing about MouseFlow is that it provides you recordings of your user activity, which really is a handy feature for every online business owner.

We hope this article has helped you in learning how to add a heatmap in blogger, if you have a better FREE heatmap tool then feel free to leave it's link in the comment section below. If you liked our article, share it with friends on Facebook, Google+ or twitter.